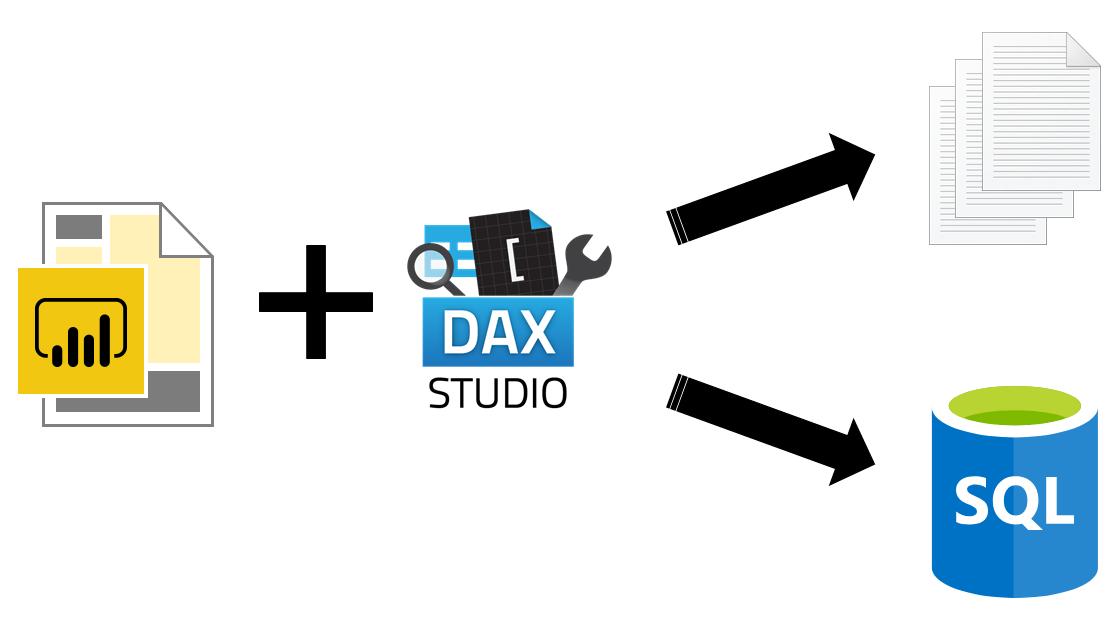
The latest version of DAX Studio, 2.8.0, was released yesterday. It has several new features, one of which stands out for me: Export All Data. While you could write your queries to CSV files or Excel before, this feature allows you to export the whole data model at once to CSV files or — and this is why I really like it — SQL Server. In this blog post, I am showing how to do it.
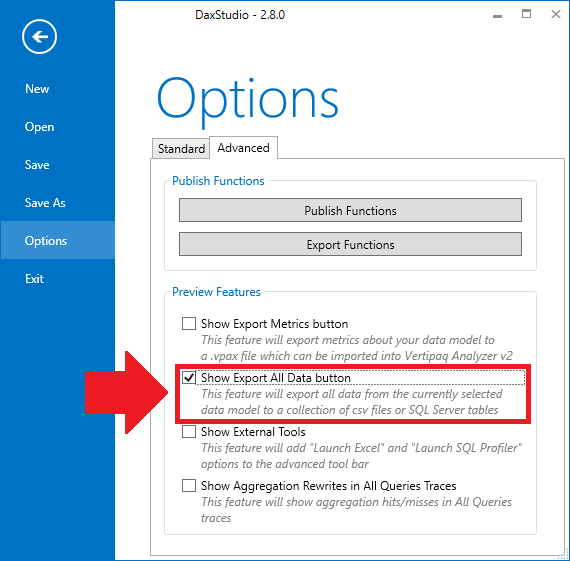
Because Export All Data is a preview feature, you need to enable it before you can use it. To do so, click File > Options > Advanced and check Show Export All Data button:

This will add the Advanced ribbon with the Export Data button:

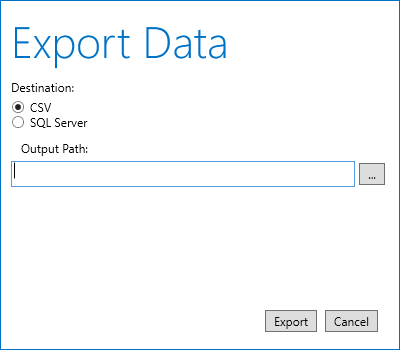
Clicking the button will open the Export Data dialog box.
Exporting to CSV files
The first option, CSV, allows you to choose a folder that will be populated with CSV exports of all tables from your data model.

Exporting to SQL Server
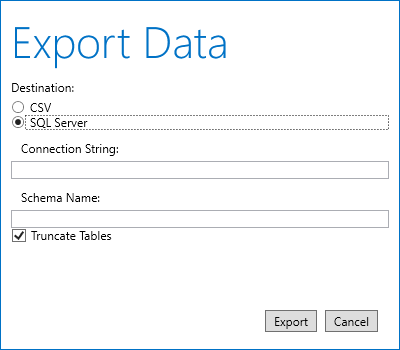
Alternatively, you can now write all your tables into a SQL Server database! For this, you need to specify a connection string and schema name:

- The connection string should be in a format similar to the following:
Server={server address};Initial Catalog={database name};User ID={your username};Password={your password};
- The schema name can be either an existing one, or DAX Studio can create a new one for you.
- You also have an option to truncate tables in case you already have them.
The best part is that DAX Studio respects data types, and you don’t have to worry about them — the process is fully automated.
Other considerations
Note that all the names will be exactly as they are in the data model, including spaces.
The new feature saves a lot of time compared to writing EVALUATE queries for each table one by one. Next month, I imagine the same feature will allow us to export data from Power BI service datasets in Premium capacity, once the XMLA protocol is supported by Power BI service.